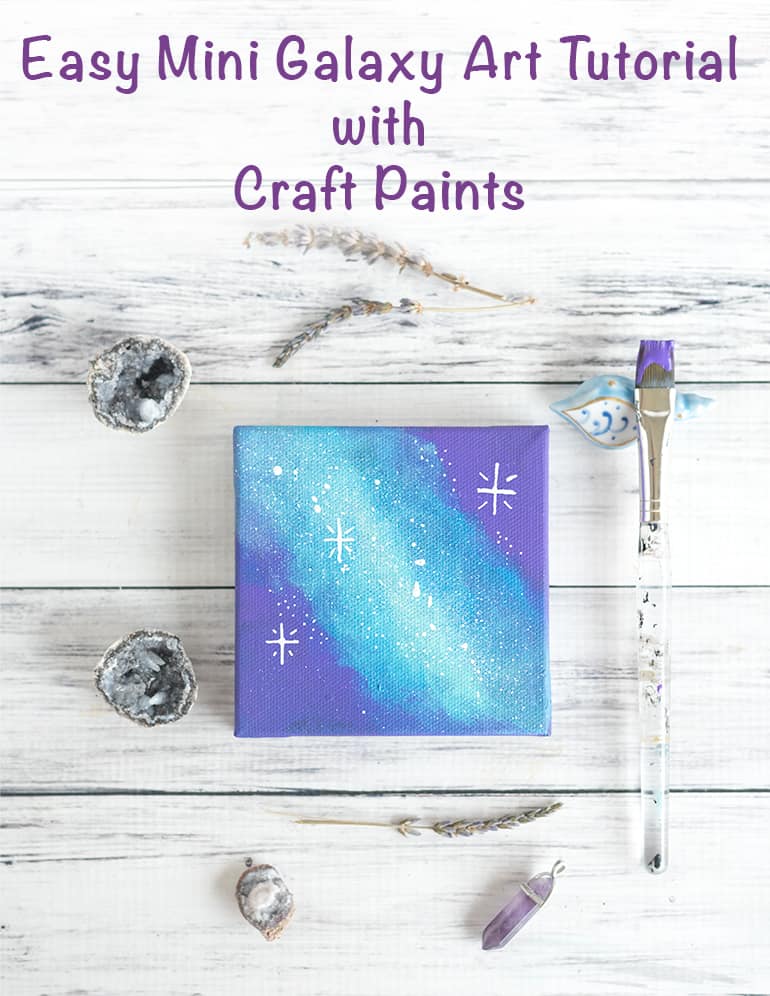
How to Paint a Galaxy Easy Acrylic
I love galaxy paintings, and I have a feeling I'm not alone!
Today I'm sharing not one but two easy galaxy painting tutorials!
They're both done with acrylic craft paints, but one is on a mini canvas and the other is on a wood slice.
They're both a little different, so make sure to take a look at your options before you decide which one you want to make! You can use the table of contents to jump around and check them out.
This post may include affiliate links, which means I may make a commission on purchases made through these links at no additional cost to you.
Easy painted galaxy on canvas
The small canvas size makes this project unintimidating and perfect for people who aren't sure if they "can" paint! (Spoiler alert, the answer is yes, you can paint this).
Materials needed for a mini galaxy painting with craft paint
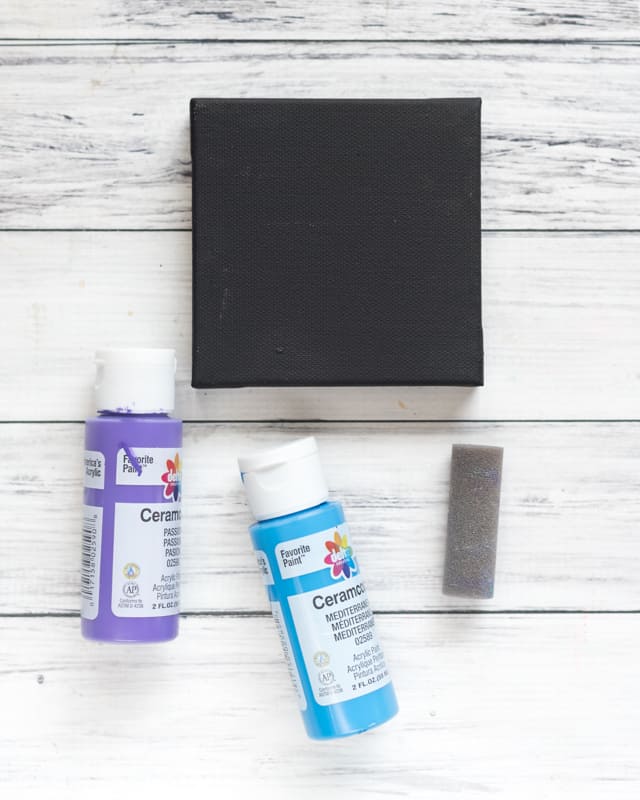
- A small canvas. A 3×3 or 4×4 works just fine, but a little larger works, too. For a freestanding piece, use a stretched canvas (the type with a wood frame) instead of a flat canvas panel.
- Foam brushes and/or pouncers
- Craft paint. I used black, white, purple, aqua, and blue. Your galaxy can be whatever colors you'd like!
- An old toothbrush or non-foam flat paintbrush (an old toothbrush makes finer star splatters. I always keep at least one old toothbrush on hand for art!)
- An ultra fine white Posca pen , whiteout pen, or something similar. You could also use a very small paintbrush.

How to paint a galaxy with acrylics
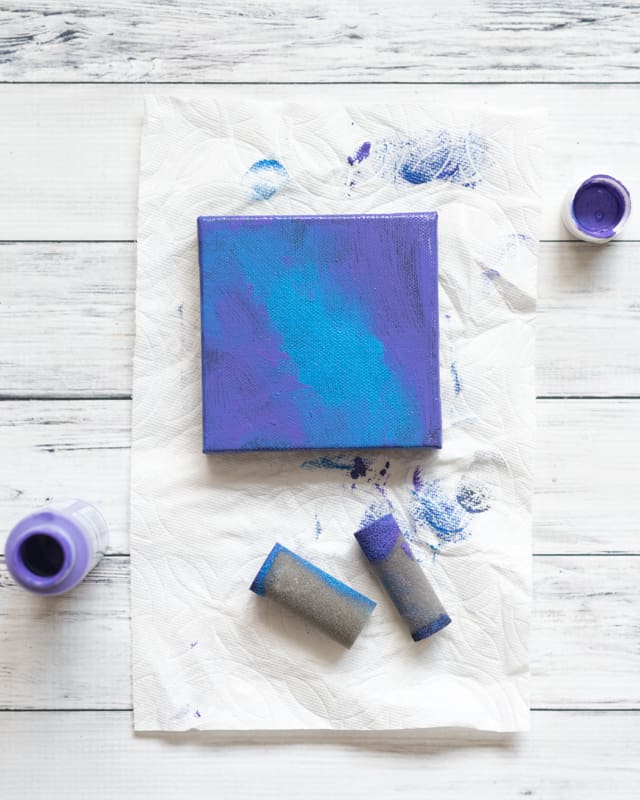
Begin by painting your entire canvas black, including the sides and top. When I took acrylic painting classes, the teacher was always reminding us to make sure to paint the sides, too, for a nice, finished look!
After the black is dry, begin adding your other colors. Keep the middle light and the outside darker. I like to run my 'galaxy' from corner to corner across the center of the painting, but you can make a spiral or wavy galaxy. Don't be afraid to add multiple coats of paint to achieve the look you desire. I started with purple and bright blue:
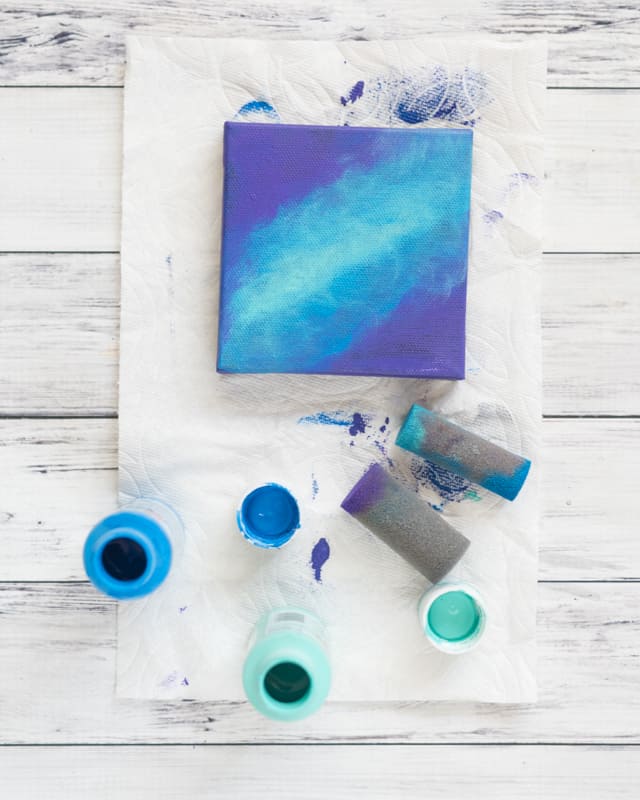
Then I came back with aqua plus more purple and blue:
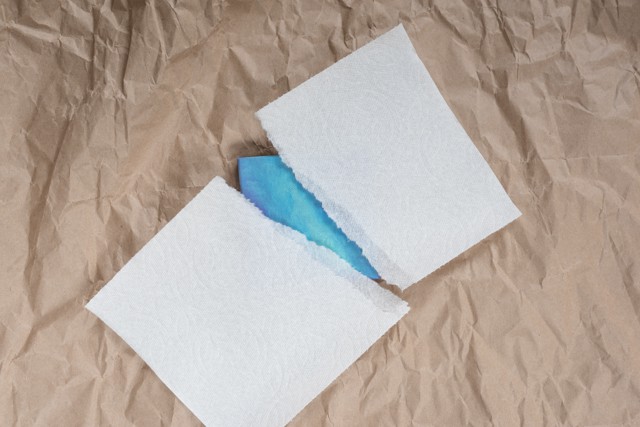
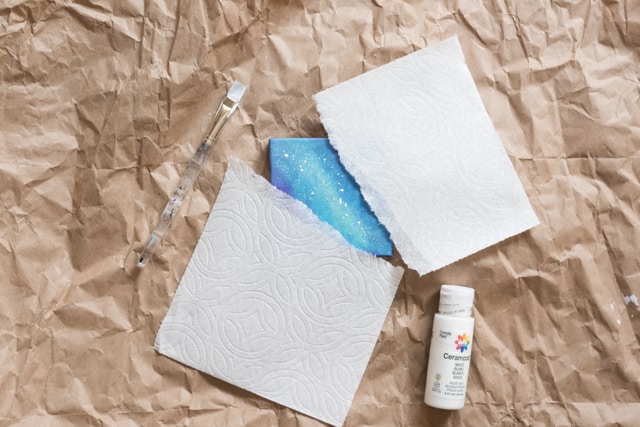
Once the paint is dry, cover the outer, dark portions with paper or paper towel (protect your work surface, too!).
Dip the bristles of your toothbrush or flat paintbrush in white paint and run your thumb across the bristles to make little splatters of white paint stars. You may want to practice this on a piece of paper first if you've never tried it before.
Gradually move the pieces of paper towards the outer edges of your canvas, adding a few more stars each time. This gives you the look of a night sky with stars all over, but a concentration in the middle for a galaxy.
Here's a photo of the Milky Way galaxy I took a while ago to demonstrate what I mean.

I find it easier to get a fine mist of 'stars' with a toothbrush and usually get larger dots of paint with a paintbrush. I used the paintbrush down the middle for a concentration of stars:
Then a toothbrush for a finer application of paint as I moved the paper towels out:
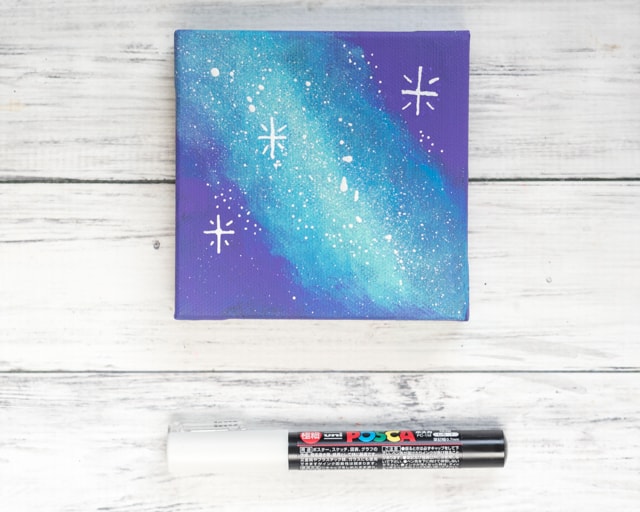
Use your paint pen or a very small paintbrush and white paint to add a few larger stars.
I like to make a + shape and then add smaller lines in, as shown below. You can also dot in a few more 'basic' stars if you see anywhere that needs it.
You might want to make your stars a little smaller – I made mine very large so they'd be easier to see for the tutorial.
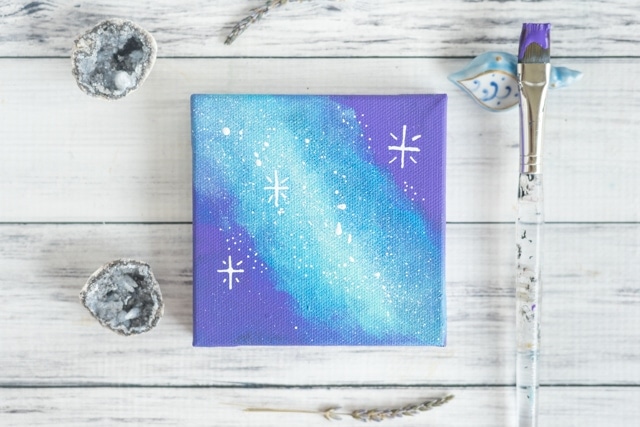
Enjoy your fun new mini galaxy art painting! Canvases like this can stand on their own or on a small easel. Place it on your desk or dresser to add a bit of fun to your day!
Acrylic galaxy painting on a wood slice
 Don't worry – when you're painting a galaxy like this it really doesn't matter if you "can't draw" or "can't paint." If you can dab paint around with a sponge, you can make this galaxy wood slice art! Add a sawtooth hanger to display it on your wall, use a screw eye to create a cute ornament, or display your painted wood slice on a small easel!
What you need to paint a galaxy
- Wood slice
- Black gesso (technically optional but very helpful)
- Craft paints in galaxy colors (blue, purple, pink, etc) as well as white & black
- Flat paint brush. I used a 1/2″ brush
- Painting sponge and/or foam dabber (if you have neither, use a foam paintbrush as a dabber)
- Small paintbrush and/or old toothbrush (optional)
- 1″ painters tape (optional)
- Scissors, if you're using tape
- A palette, plastic plate, or, my personal favorite, a large plastic lid (from oatmeal, coffee, yogurt, etc.)
- A sawtooth hanger, screw eye, etc. (optional – if you'd like to hang your wood slice)
How to paint a galaxy on a wood slice
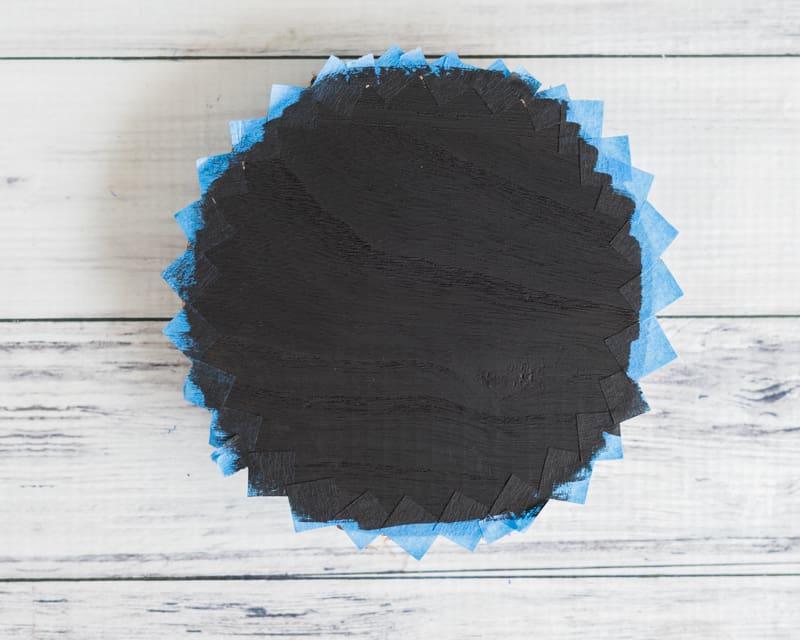
Because my wood slice had a bark edge I wanted to preserve, I decided to create a zig-zag border around my wood slice using painters tape.
You absolutely do not have to do this, but it's easy and adds a nice touch!
If you'd like to create an edge to preserve any bark and a bit of natural wood, cut your tape into 1/2″ strips and then cut each strip into a 1/2″ square.
Position these squares around the wood slice's edge to create a triangle/zig-zag border all the way around.


If you have black gesso, give the wood slice a good coat and allow it to dry fully.
If you don't have black gesso, you can use clear gesso and then apply a layer of black paint, or you can use 2-3 layers of black craft paint. Wood is porous, so the gesso prepares the surface for painting. Some of the paint will soak into the wood if you paint directly on it, which is why you will probably need multiple coats of craft paint to achieve the same level of coverage.
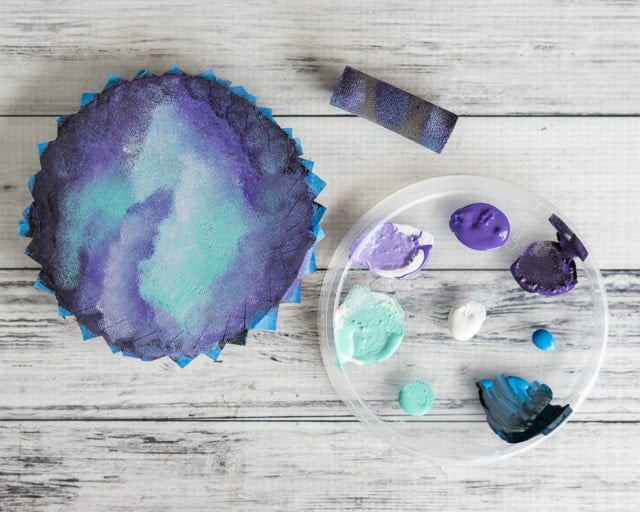
Once your gesso/paint is completely dry, mix up some paints for your galaxy!
I put some turquoise, purple, and blue paint on a yogurt container lid and added bits of white and black to create a variety of shades.
You'll probably also want some plain white paint, so get a bit of it ready, too!

Grab your sponge or dabber and dab away!
You may want to have either multiple sponges or a paper towel for cleaning yours handy.
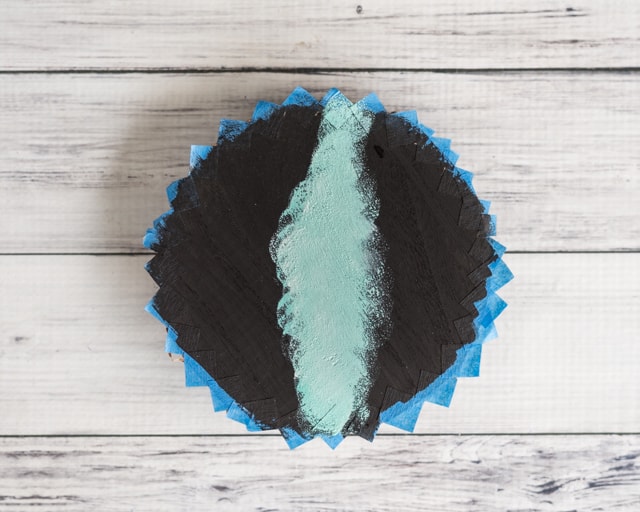
I started with a band of my lighter aqua up the middle:
Then I added darker aqua around the edges, followed by lighter purple, pure purple, and darker purple.
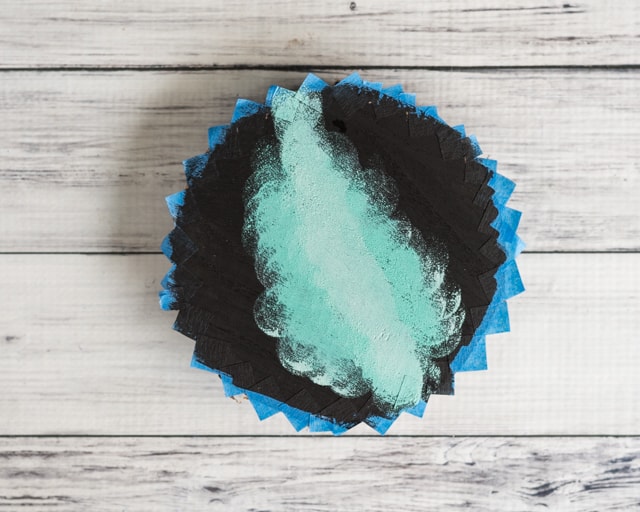
As you work, don't be afraid to go back in and add more paint! I aded white paint down the center and some aqua on top of purple, for example. Just keep playing and blending until you're satisfied!
Dab an old toothbrush or your paintbrush in white paint and use your thumb to flick paint at the wood slice to add dots for stars.

Once the paint is dry, you can also grab a small brush and hand paint in a few larger stars in white, gold, or silver.
When all the paint has fully dried, remove your painters tape. Add a hanger, if you'd like, and enjoy your awesome new galaxy wood slice art!

I really hope you enjoyed these two galaxy painting projects!
More galaxy painting tutorials
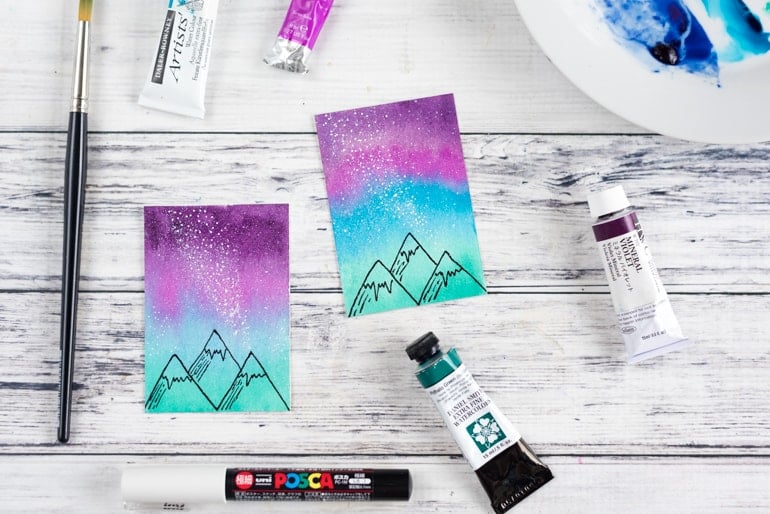
Watercolor galaxy tutorial
Dishwasher safe galaxy mug

Have you noticed virtually all of my projects are aqua and/or purple? They're obviously my favorite colors to create with! Do you have favorite colors for crafting or decorating?

More Related Posts
[pt_view id="15d429e15n"]
[catlist search="tutorial" numberposts=4 orderby=rand excludeposts=this]
Save Save
Save Save
Save Save Save Save
Save Save
Source: https://natashalh.com/mini-galaxy-painting-tutorial/
Post a Comment for "How to Paint a Galaxy Easy Acrylic"